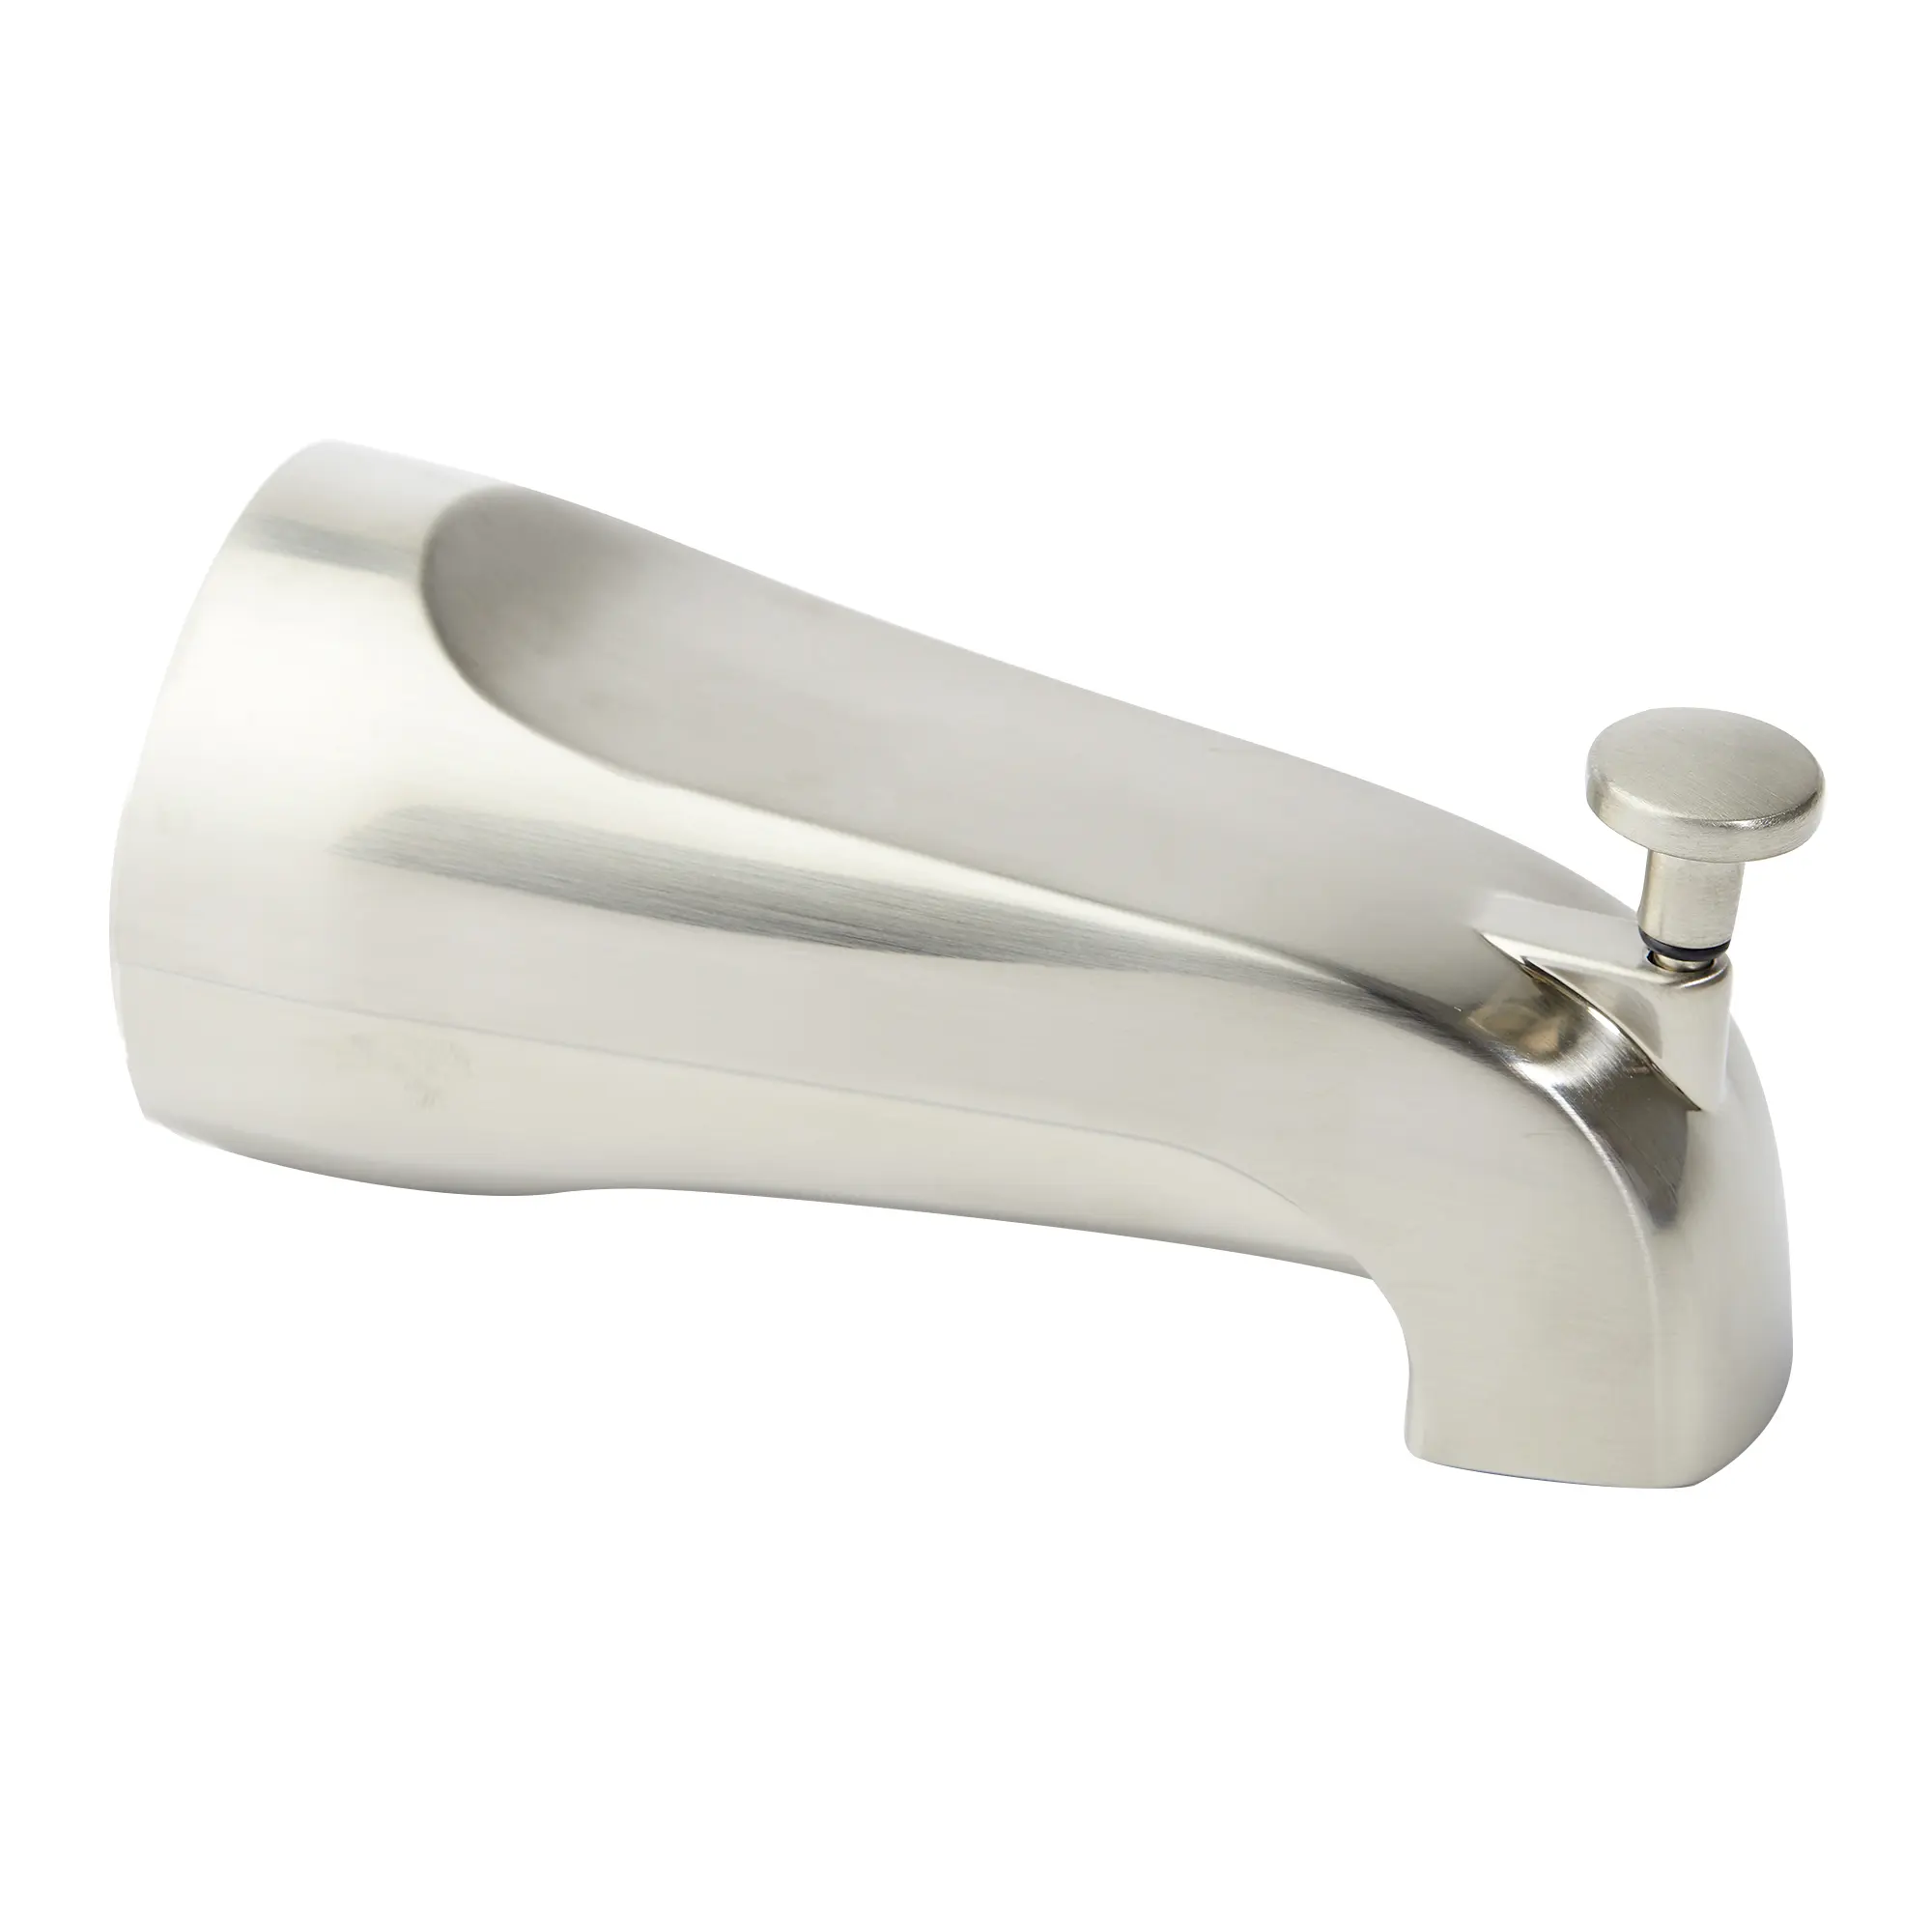
Replacing a bathtub spout is a straightforward DIY project that can refresh the look of your bathroom and resolve common issues like leaks or outdated fixtures. With the right tools and a clear plan, you can replace your bathtub spout in under an hour, saving money on professional labor.
To replace a bathtub spout, first identify the type of spout you have—slip-on or threaded—then remove it using the appropriate method. Install the new spout securely, ensuring a snug fit to prevent leaks and restore your tub’s functionality.
In this blog, we’ll walk you through every step of the process, from identifying your spout type to choosing the right replacement and installing it correctly.
Why Replace Your Bathtub Spout?
Bathtub spouts are not just functional; they also contribute to the aesthetic appeal of your bathroom. Over time, spouts can develop problems such as corrosion, leaks, or diverter malfunctions (when the spout fails to redirect water to the shower). Replacing your spout can resolve these issues and update the look of your tub.
Tools and Materials You’ll Need
Before starting, gather the following tools and materials:
- Adjustable wrench
- Flathead and Phillips screwdrivers
- Pipe wrench (if needed for extra grip)
- Plumber’s tape
- A new bathtub spout (compatible with your existing plumbing)
- Silicone caulk (optional, for sealing gaps)
Step 1: Identify Your Spout Type
The first step in replacing your bathtub spout is determining whether you have a slip-on spout or a threaded spout. This is crucial because the removal and installation methods differ.
- Slip-On Spouts: These are secured to the pipe with a set screw, typically located underneath the spout.
- Threaded Spouts: These screw directly onto the pipe with threads inside the spout.
Inspect the underside of your spout for a set screw. If you find one, it’s a slip-on spout. If not, it’s likely a threaded spout.
Step 2: Remove the Old Spout
For Slip-On Spouts
- Locate the set screw at the base of the spout.
- Use a hex key (Allen wrench) to loosen the screw. Turn counterclockwise until the spout slides off the pipe.
- Gently pull the spout away from the wall. If it’s stuck due to mineral deposits, wiggle it slightly to loosen it.
For Threaded Spouts
- Grip the spout firmly with your hands or use an adjustable wrench for extra leverage.
- Turn the spout counterclockwise to unscrew it.
- If it’s tightly stuck, use a pipe wrench with a cloth to protect the finish from scratches.
Step 3: Clean the Pipe
After removing the old spout, inspect the pipe for debris, corrosion, or old plumber’s tape. Clean the pipe thoroughly to ensure a secure connection for the new spout.
- Use a damp cloth to wipe away dirt or residue.
- Remove any remnants of plumber’s tape using a utility knife or your fingers.
- Inspect for signs of damage, such as cracks or corrosion, which may require professional repair.
Step 4: Choose the Right Replacement Spout
Select a replacement spout that matches the type of your existing one (slip-on or threaded) and is compatible with your pipe diameter. Check the product specifications and ensure the finish matches your bathroom’s style for a seamless upgrade.
Step 5: Install the New Spout
For Slip-On Spouts
- Slide the new spout onto the pipe until it fits snugly against the wall.
- Align the set screw with the notch on the pipe.
- Tighten the set screw using a hex key. Ensure the spout is secure but avoid overtightening, as this can damage the pipe.
For Threaded Spouts
- Wrap the pipe threads with plumber’s tape to create a watertight seal. Apply the tape clockwise to ensure it doesn’t unravel during installation.
- Align the new spout with the pipe and begin screwing it on by hand.
- Tighten the spout with an adjustable wrench or pipe wrench, but stop when it’s secure to avoid over-tightening.
Step 6: Test for Leaks
Turn on the water and check for leaks around the connection between the spout and the pipe. If you notice any dripping:
- For slip-on spouts, ensure the set screw is fully tightened.
- For threaded spouts, add more plumber’s tape and tighten slightly further.
Step 7: Seal the Gap (Optional)
If there’s a visible gap between the spout and the wall, apply a thin bead of silicone caulk around the base of the spout. Smooth it with your finger or a caulk tool for a clean finish. This step is optional but can improve the appearance and prevent water from seeping behind the spout.
Tips for Success
- Always measure the pipe length and diameter before purchasing a new spout to ensure compatibility.
- Avoid using excessive force when tightening screws or threads to prevent damage.
- If your old spout was corroded, consider replacing other plumbing components to avoid future issues.
When to Call a Professional
While replacing a bathtub spout is a manageable DIY project, certain situations may require professional assistance. Call a plumber if:
- The pipe is damaged or leaking.
- You’re unsure about the type of spout or connection.
- The spout is stuck and won’t budge despite multiple attempts.
Conclusion
Replacing a bathtub spout is a simple yet impactful way to improve your bathroom’s functionality and aesthetics. By following these steps and using the right tools, you can complete the project in no time and enjoy a refreshed look and improved water flow.
Whether you’re upgrading for style or addressing a functional issue, a new bathtub spout is a small change that makes a big difference. With this guide, you can confidently tackle the project and achieve professional-level results without hiring a plumber.


