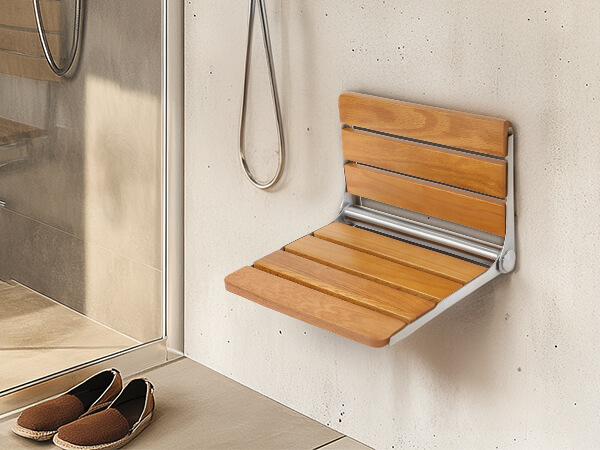
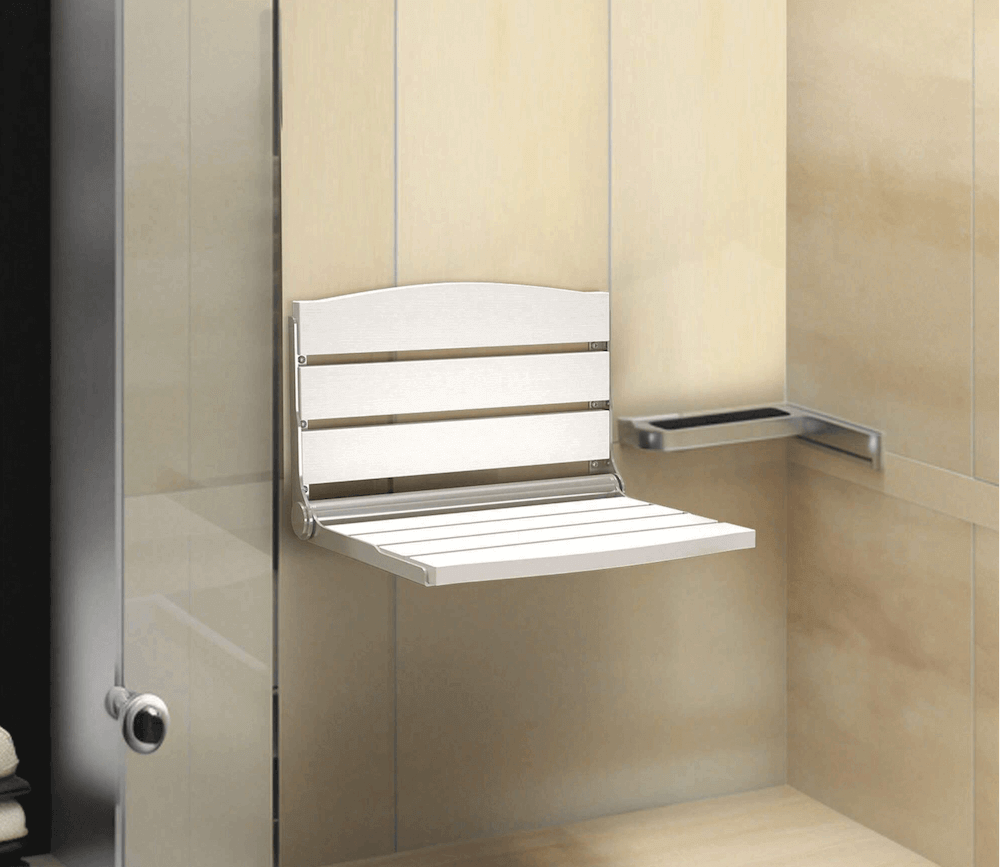
If you’re looking to add both comfort and style to your shower space, a wall-mounted floating shower seat is an excellent option. Not only does it provide a convenient place to rest during your shower, but it also enhances the overall aesthetics of your bathroom by creating a sleek, modern look. While the idea of installing a floating shower seat might seem daunting, it’s actually a manageable DIY project that can be completed in just a few hours with the right tools and preparation.
In this guide, we will walk you through the steps of installing a wall-mounted floating shower seat, offering practical tips and advice to ensure a secure, functional, and stylish installation. Whether you’re updating your shower for comfort or planning a bathroom remodel, this step-by-step guide will help you achieve a successful installation.
Why Choose a Wall-Mounted Floating Shower Seat?
There are several reasons why a wall-mounted floating shower seat is a great addition to your bathroom:
- Space-Saving: Unlike traditional shower benches, a floating seat doesn’t take up valuable floor space. It’s mounted to the wall, leaving the area underneath open, which makes your shower feel more spacious.
- Modern Aesthetic: Floating shower seats have a sleek, minimalist design that suits modern and contemporary bathrooms. They create a clean, streamlined look that adds to your bathroom’s overall style.
- Comfort and Convenience: A shower seat offers a safe and comfortable spot to relax while showering, making it especially useful for individuals with mobility issues or for those who simply want to enjoy a more leisurely shower experience.
- Durability: When installed properly, wall-mounted floating seats are sturdy and can support a substantial amount of weight. They’re designed to be strong and long-lasting, even in the damp environment of a shower.

Step 1: Gather the Necessary Tools and Materials
Before you begin installing your floating shower seat, make sure you have all the required tools and materials on hand:
- Wall-mounted floating shower seat (make sure it’s suitable for your shower size and weight capacity)
- Drill and drill bits (appropriate for your wall type)
- Level (to ensure your seat is properly aligned)
- Stud finder (for locating wall studs)
- Measuring tape
- Screwdriver or impact driver
- Screws (usually provided with the seat, but make sure they are designed for wall mounting)
- Anchors (if needed, depending on your wall material)
- Pencil or marker (for marking measurements on the wall)
- Safety glasses and gloves (for protection)
Having these tools ready will streamline the installation process and ensure that you don’t have to stop mid-way through to gather missing items.
Step 2: Choose the Right Location
Before installing your floating shower seat, it’s crucial to choose the right location. You’ll want to position the seat where it’s comfortable and functional but also ensures stability.
- Height: The ideal height for a shower seat is typically between 17 to 19 inches from the floor. This is a comfortable sitting height for most people, allowing them to rest easily while still being able to stand up without difficulty. Use a measuring tape to mark the desired height on the wall.
- Wall Studs: A wall-mounted seat needs to be installed on a sturdy surface, typically on wall studs. Use a stud finder to locate the studs in the wall where the seat will be attached. If you’re installing the seat in a tiled wall, be careful not to drill through the grout lines, as this can weaken the installation.
- Space and Accessibility: Ensure there is enough space in your shower for the seat without obstructing movement. Also, consider positioning the seat near the shower controls or a convenient area of the shower where it will be comfortable to use.
Step 3: Mark and Drill Holes
Once you’ve chosen the perfect location, it’s time to prepare the wall for installation.
- Mark the Spot: Use a pencil or marker to mark the spots where the mounting brackets will go. If your floating shower seat comes with a template, use it to ensure precise alignment. Double-check that your measurements are correct before proceeding.
- Drill Pilot Holes: Using a drill with the appropriate bit size for your wall anchors or screws, drill pilot holes at the marked spots. Be sure to drill into the wall studs, as they will provide the most support for the seat. If the studs are not aligned with the mounting points, use wall anchors to ensure a secure hold.
- Use a Level: As you drill, keep a level nearby to ensure that the seat will be installed evenly. This is particularly important if the seat is larger or has multiple mounting points to avoid any tilting.

Step 4: Install the Mounting Brackets
Most wall-mounted floating shower seats come with mounting brackets or hardware. These brackets will hold the seat securely to the wall, and installing them correctly is key to ensuring stability.
- Attach the Brackets to the Wall: Align the brackets with the pilot holes you’ve drilled, and use screws to attach them firmly to the wall. If necessary, use wall anchors in places where there are no studs. Tighten the screws until the brackets are securely in place.
- Double-Check Stability: Before moving on, give the brackets a gentle tug to make sure they are properly secured to the wall. Any wobbling or loose fittings should be addressed before proceeding.
Step 5: Install the Shower Seat
Once the mounting brackets are in place, it’s time to attach the shower seat itself.
- Position the Seat: Carefully position the floating seat on the mounted brackets. Some seats may require you to simply slide them into place, while others may have additional screws or fasteners to secure them.
- Secure the Seat: Once the seat is properly aligned with the brackets, use the screws provided to attach it to the brackets. Tighten the screws firmly, but avoid overtightening to prevent damaging the seat or the brackets.
- Test the Seat: Before using the shower seat, test its stability by gently sitting on it. Make sure it doesn’t shift, wobble, or make any creaking noises. If everything feels secure, you’re ready to move on to the next step.
Step 6: Final Touches and Maintenance
Now that your floating shower seat is installed, it’s time to give the entire area a final check.
- Check for Leaks: If you used any silicone sealant around the seat to prevent water from collecting behind it, make sure it’s dry and set before using the seat. Clean up any excess sealant.
- Cleaning and Care: To keep your shower seat in great condition, regularly clean it with a non-abrasive cleaner. Avoid harsh chemicals that could damage the material.
Installing a wall-mounted floating shower seat is a practical and rewarding DIY project that can enhance both the functionality and style of your bathroom. With the right tools, materials, and preparation, you can achieve a secure, comfortable, and modern seating solution for your shower.
In summary, installing a floating shower seat is a straightforward process that, when done correctly, can significantly improve your shower experience. By carefully selecting the installation site, ensuring secure mounting, and maintaining the seat, you can enjoy the benefits of a stylish and functional addition to your bathroom for years to come.
