Upgrading to a rainfall shower head is a fantastic way to transform your bathroom into a relaxing, spa-like retreat. With their wide, gentle water flow that mimics natural rain, rainfall shower heads are designed to provide a soothing and luxurious shower experience. Installation is simpler than you might think and can often be done without professional help. Here’s a complete guide to help you install a rainfall shower head quickly and effectively.
Why Choose a Rainfall Shower Head?
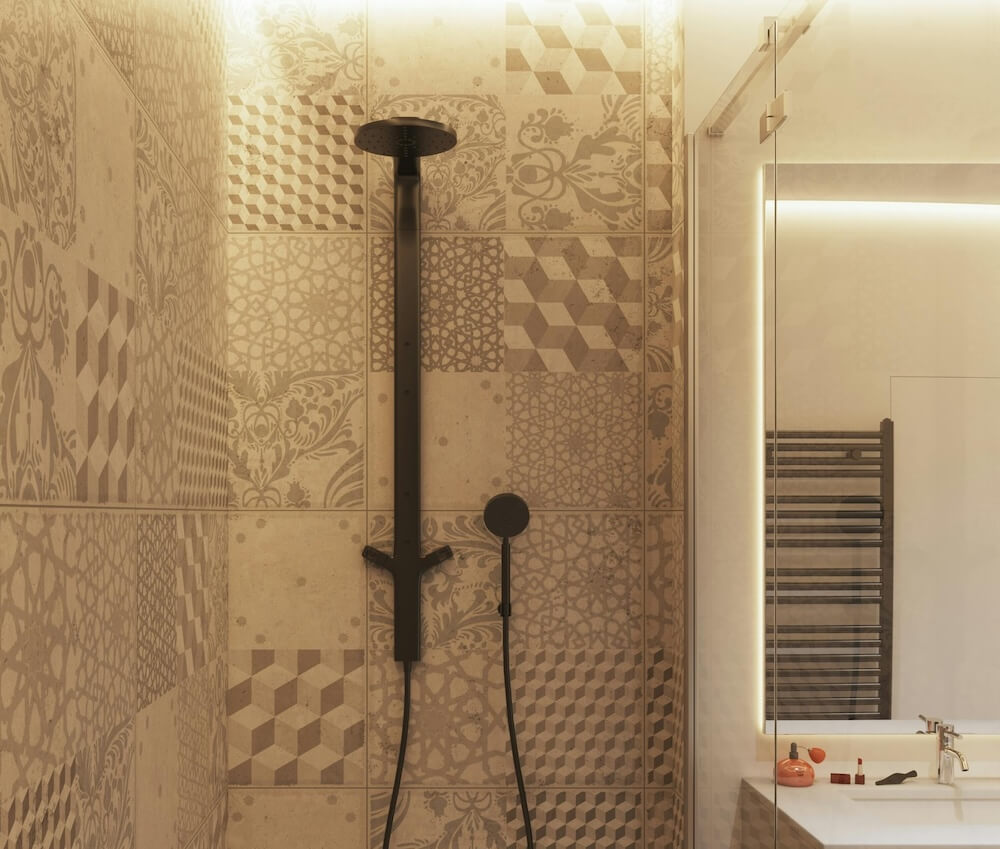
Rainfall shower heads are popular for their unique, gentle water flow that covers more surface area, giving you a full-body experience in the shower. Typically, they’re mounted overhead to allow water to fall straight down, creating a relaxing rain effect. Many rainfall shower heads also come with adjustable settings, so you can enjoy a traditional shower spray as well.
Tools and Materials You’ll Need
Before you get started, gather the following tools and materials to ensure a smooth installation process:
- New rainfall shower head (with or without arm, depending on your preference)
- Adjustable wrench or pliers
- Teflon tape (also called plumber’s tape)
- Soft cloth or towel
- Ladder or step stool (if needed for height)
“To install a rainfall shower head, remove the old shower head, apply Teflon tape to the threads, attach the new shower head, and check for leaks to ensure proper installation.” This approach helps achieve a watertight seal and a stable, long-lasting setup.

Step 1: Remove the Old Shower Head
Before installing your new rainfall shower head, you’ll need to remove the old one.
- Turn Off the Water: Although it’s not essential, turning off the water supply is recommended to avoid any accidental sprays.
- Use a Wrench to Loosen: Wrap a soft cloth around the base of the old shower head to protect it, then use an adjustable wrench or pliers to loosen it by turning counterclockwise. Be careful to avoid scratching the fixture.
- Remove the Shower Head: Once loose, twist the shower head off by hand and set it aside. Check the pipe threads to make sure they’re clean and free of debris or old Teflon tape. If necessary, wipe down the threads with a damp cloth to remove any buildup.
Step 2: Apply Teflon Tape for a Tight Seal
To prevent leaks, wrap Teflon tape around the pipe threads where the new shower head will attach. This step ensures a secure, watertight seal.
- Wrap Teflon Tape Around the Threads: Wrap the Teflon tape around the threads in a clockwise direction (usually 2-3 layers are sufficient). Make sure it covers the threads evenly, but avoid using too much tape, as it can cause the new shower head to fit improperly.
- Press the Tape Down Smoothly: Run your fingers over the tape to press it down securely onto the threads. This will help the shower head screw on smoothly and create a leak-free connection.
Step 3: Install the Rainfall Shower Arm (If Needed)
Some rainfall shower heads come with an extended or angled shower arm to position the head directly overhead. If your shower head includes a new arm, or if you’re purchasing an extension, install this before attaching the head.
- Remove the Old Arm: If you’re replacing the shower arm, twist it counterclockwise to remove it. Use a wrench if it’s tightly secured.
- Wrap the New Arm’s Threads with Teflon Tape: Apply Teflon tape to both ends of the new shower arm’s threads to create a watertight seal.
- Attach the New Shower Arm: Screw the new arm into the wall pipe by hand, then use a wrench to tighten it gently. Be careful not to overtighten, as this could damage the pipe or the arm.
Step 4: Attach the Rainfall Shower Head
Now it’s time to install the rainfall shower head itself.
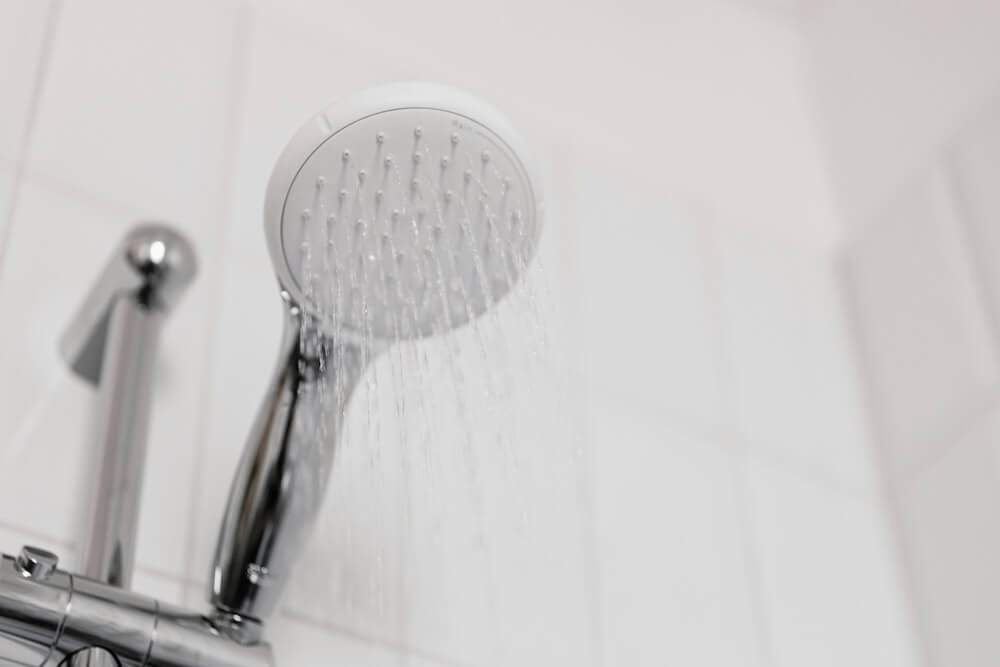
- Screw on the Shower Head: Position the shower head at the end of the arm and start twisting it clockwise by hand. Make sure it’s secure, but avoid overtightening to prevent damaging the threads.
- Tighten with a Wrench (If Necessary): If your shower head isn’t fitting snugly, use a wrench for a final tightening. Wrap a soft cloth around the base of the shower head to avoid scratching, and turn it gently until secure.

Step 5: Check for Leaks
Once your rainfall shower head is installed, it’s important to check for leaks to ensure a watertight seal.
- Turn On the Water Supply: Turn on the water and check around the connection between the shower head and the arm. Look for any signs of dripping or leaking.
- Tighten if Needed: If you notice any leaks, turn off the water and tighten the connection slightly. Adding another layer of Teflon tape can also help if the leak persists.
Step 6: Adjust the Shower Head’s Position
Most rainfall shower heads allow for slight adjustments in angle, so you can position it perfectly for optimal water coverage.
- Adjust the Angle: Stand in your shower and make slight adjustments to the shower head’s angle to ensure it provides full coverage. The rainfall effect works best when the water falls directly overhead.
- Secure in Place: Once you’ve found the ideal position, tighten any adjustment points to hold the shower head securely in place.
Additional Tips for Installing a Rainfall Shower Head
- Choose the Right Height: Rainfall shower heads should be installed directly overhead or at a height that lets water fall evenly over the body. If your current setup doesn’t allow for this, an extended shower arm or ceiling-mounted shower head may be needed.
- Consider Water Pressure: Rainfall shower heads often use more water, so check if your home’s water pressure is adequate for a satisfying shower experience. Low-flow rainfall heads are available if you’re concerned about water conservation.
- Test the Water Flow: Some rainfall shower heads come with adjustable settings. Test each setting to ensure the flow suits your preferences for a spa-like shower.

Common Questions About Rainfall Shower Head Installation
Do I need a plumber to install a rainfall shower head?
In most cases, you can install a rainfall shower head yourself with basic tools and a few simple steps. However, if you’re replacing the shower arm or changing the plumbing layout, you may want to consult a plumber to ensure proper installation.
Can I install a rainfall shower head with low water pressure?
Yes, but it’s essential to choose a rainfall shower head designed for low water pressure. Standard models might not provide the full rainfall effect if the pressure is too low. Look for low-flow or high-efficiency options designed to work with lower pressure.
Are all rainfall shower heads mounted overhead?
While overhead mounting is ideal for the rainfall effect, some models can also be installed at an angle. If you want the water to fall directly down like natural rain, opt for an overhead or ceiling-mounted setup.
Final Thoughts
Installing a rainfall shower head is a relatively easy DIY project that can significantly enhance your shower experience. With just a few tools and simple steps—removing the old head, applying Teflon tape, attaching the new head, and checking for leaks—you can enjoy a relaxing, spa-like shower in your own home.
Summary: To install a rainfall shower head, remove the old head, wrap Teflon tape around the threads, screw on the new head, and check for leaks. With the right tools, you can achieve a leak-free installation that elevates your shower experience.
A rainfall shower head is a luxurious addition to any bathroom, providing a relaxing, full-coverage water flow. By following these steps, you’ll ensure a secure, watertight fit and can start enjoying your new shower right away.
