When renovating or building a new shower, one of the most common questions homeowners ask is whether to install the tiles before or after putting in the shower doors. This decision is crucial because it can affect the overall finish, waterproofing, and the durability of your shower enclosure. Understanding the correct order of operations can help ensure a smoother installation process and a professional-looking result.
In this article, we will explore why tiling before installing shower doors is the preferred method, the steps involved in each phase, and how to tackle potential challenges during the installation process.
Why Tiling Before Installing Shower Doors Makes Sense
Tiling before shower doors is typically the recommended approach, and here’s why:
- Ensures a Cleaner Finish
When you install tiles first, you create a seamless finish where the tiles meet the walls of the shower. If you were to install the shower doors before tiling, you’d have to cut tiles around the door frames, which could lead to unsightly gaps or uneven edges. Tiling first gives you more flexibility and ensures a neat, uniform look. - Better Waterproofing
The grout lines in your tiles must be sealed properly to prevent water from leaking behind the walls. When you install tiles first, it ensures that all gaps between the tiles and walls are sealed before the doors are put in. If you install the doors first, you risk missing these critical areas, which could lead to water damage down the road. - Easier to Adjust and Trim
Installing the tiles before the shower doors gives you the freedom to make any adjustments, especially around corners or edges. If the doors are already installed, trimming tiles to fit around them becomes more difficult and might cause damage to the door frame or glass. - Time and Cost-Effective
By tiling first, you won’t have to worry about tiling around the edges of the shower doors or cutting tiles to fit awkward angles. This reduces the need for rework and helps speed up the entire process, making your installation more efficient.
Step-by-Step Guide: Tiling Before Shower Doors
Now that we’ve established why tiling before installing shower doors is usually the best approach, let’s break down the steps involved in getting your shower ready:
Step 1: Prepare the Shower Area
Before starting any work, ensure the shower area is completely prepped for tiling. This includes:
- Cleaning the Walls: Remove any old tiles, debris, or moisture that might interfere with tile adhesion.
- Waterproofing: Apply a waterproof membrane or backer board to the walls, especially in wet areas. This step is crucial for preventing water from damaging your walls.
- Measuring: Take precise measurements of the shower area, including the dimensions for the door and the tiles. Plan your tile layout to ensure that cuts fall in less noticeable areas.
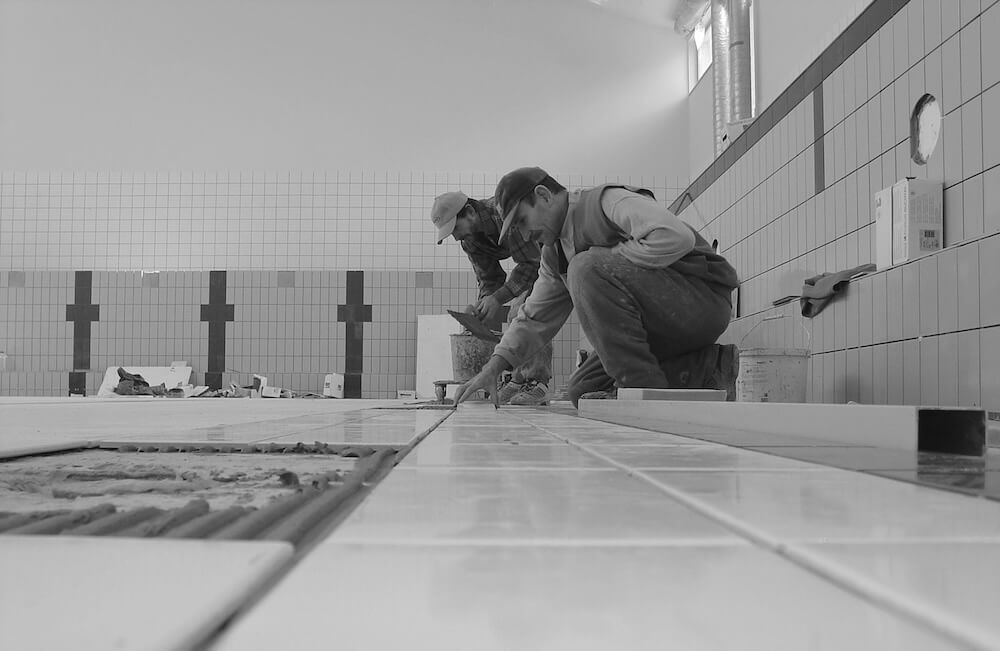
Step 2: Install the Tiles
Once the shower walls are prepped, it’s time to start tiling. Here’s how to proceed:
- Apply Thinset Mortar: Spread thinset mortar or adhesive over the wall using a notched trowel. Make sure to apply only enough mortar for a few tiles at a time, ensuring that it doesn’t dry out before you place the tiles.
- Lay the Tiles: Start tiling from the bottom up, ensuring that each tile is properly aligned and spaced. Use tile spacers between each tile for uniform grout lines.
- Cut Tiles: As you reach the edges and corners, use a tile cutter or wet saw to trim tiles to fit. Make sure the cuts are clean and precise, especially near where the shower door will be installed.
- Grout the Tiles: After all the tiles are in place, allow the adhesive to set. Then, apply grout between the tiles using a rubber float, making sure to press it into the gaps. Wipe away excess grout with a damp sponge and leave the grout to cure for 24 hours.
Step 3: Seal the Grout Lines
After the grout has dried, apply a grout sealer to prevent moisture from seeping in. This is a critical step to prevent mold and mildew buildup in the long term.
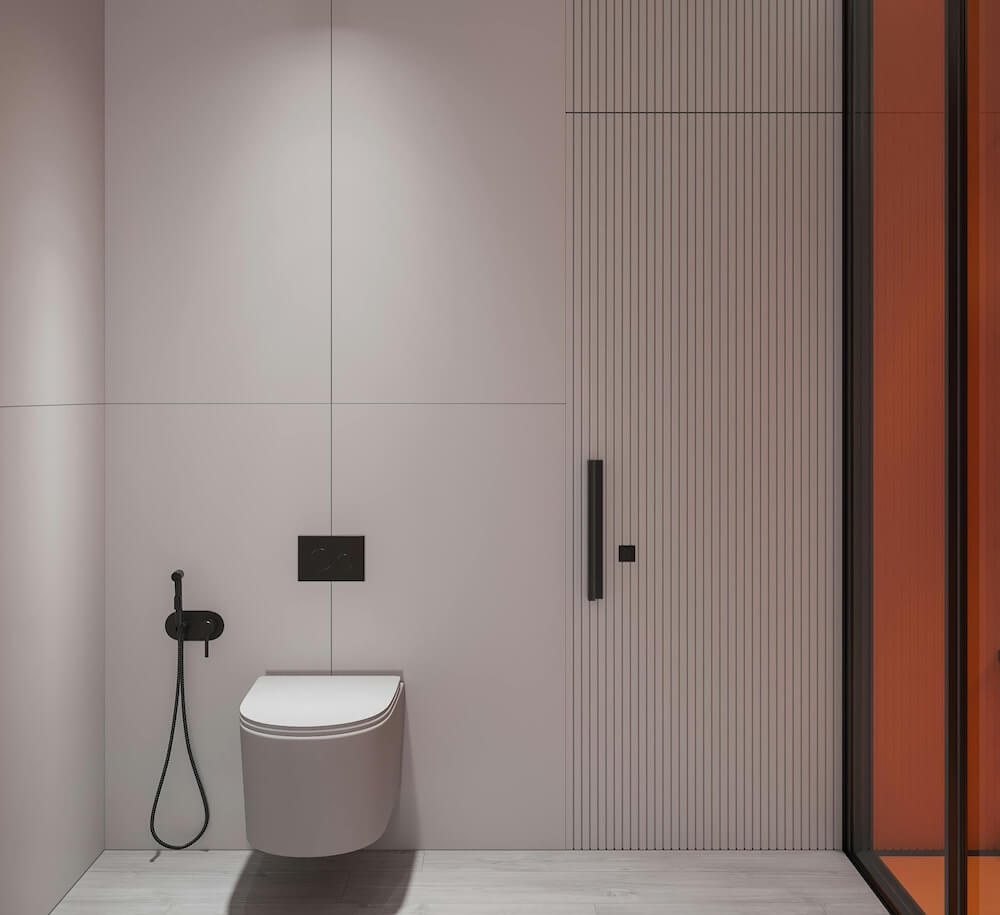
Step 4: Install the Shower Doors
Once your tiles are installed and the grout has fully set, it’s time to install the shower doors. Follow the manufacturer’s instructions carefully for installing the door frame, brackets, and glass panels. Here’s how to do it:
- Mark the Position for the Frame: Measure and mark where the shower door frame will be installed. Ensure it is level and properly aligned with the wall.
- Install the Frame: Secure the door frame to the wall using the appropriate fasteners. If the shower door is frameless, you will need to install brackets that hold the glass panels in place.
- Install the Glass: Once the frame is set, install the glass panels carefully. Make sure they are secure and that the seals around the edges are tight to prevent water leakage.
- Test the Door: Open and close the door a few times to make sure it operates smoothly. Check the seals around the door for any gaps that could let water escape.
Step 5: Seal Around the Door and Tiles
After the shower doors are in place, use a high-quality silicone caulk to seal the edges where the door meets the tiles. This helps to prevent leaks and water damage. Smooth the caulk with a caulk smoothing tool or your finger, and allow it to cure for at least 24 hours.
Challenges When Tiling After Installing Shower Doors
While tiling before installing shower doors is generally the preferred method, some situations might require tiling after the doors are installed. Here are a few challenges to keep in mind if you decide to tile later:
- Hard-to-Reach Areas: Tiling after the shower doors are installed may make it difficult to reach certain areas of the wall or floor.
- Limited Tile Placement: You might have to work around the door frame, leading to awkward cuts and placement issues.
- Waterproofing Concerns: If you don’t tile first, it’s harder to ensure that the entire shower enclosure is properly sealed against water leaks.
In summary, tiling before installing shower doors is typically the best practice for ensuring a clean, professional finish and protecting your bathroom from water damage. Tiling first allows for a seamless, watertight installation that will last for years, while also making the process easier and more efficient. By following the steps outlined in this guide, you can ensure that your shower doors and tiles come together perfectly, giving you a beautiful and functional shower space.
If you’re unsure about the process or feel uncomfortable handling the installation on your own, don’t hesitate to consult a professional installer. With the right approach, you can have a stylish, fully functional shower that’s built to last.