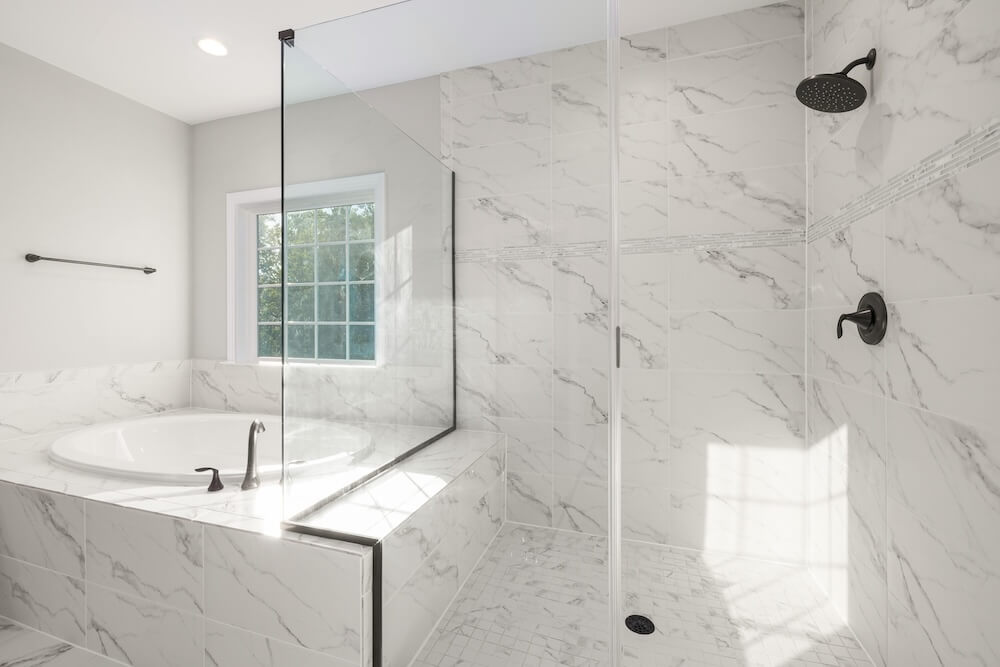
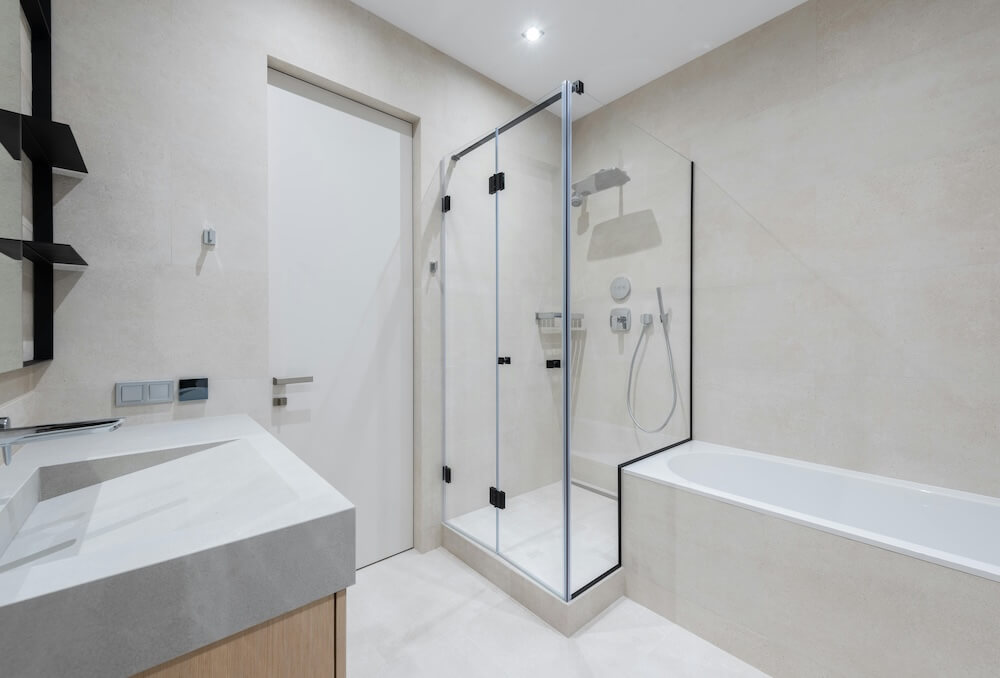
Shower wall panels are a popular alternative to traditional tile because they’re easier to install, require minimal maintenance, and give a sleek, modern look. Installing shower wall panels is a relatively straightforward DIY project that can dramatically transform your bathroom without the hassle of grout or lengthy installations. In this guide, we’ll walk you through the entire process, from preparation to sealing the edges, ensuring a professional and waterproof finish.
Why Choose Shower Wall Panels?
Shower wall panels are made from materials like acrylic, PVC, or laminate and are designed to provide a waterproof, durable surface that’s easy to clean. Unlike tiles, they don’t have grout lines, which means fewer places for mold and mildew to grow. They’re also quicker to install, making them an ideal choice for bathroom renovations or updates.
Tools and Materials You’ll Need
Before getting started, make sure you have the following tools and materials:
- Shower wall panels (cut to size)
- Measuring tape
- Level
- Pencil or marker
- Adhesive (as recommended by the panel manufacturer)
- Caulking gun
- Silicone sealant
- Sandpaper (120 grit, optional for wall preparation)
- Drill (if needed for fixtures)
- Jigsaw or utility knife (for cutting panels)
- Clean cloths
“To install shower wall panels, measure and prepare the area, apply adhesive to the wall, position the panels, and finish by sealing the edges with silicone for a waterproof installation.” This approach ensures a secure fit and long-lasting protection.

Step 1: Measure and Plan the Layout
Accurate measurements are key to a smooth installation, so take your time on this step.
- Measure the Walls: Use a measuring tape to determine the exact dimensions of each wall you’ll be covering with panels. Write down the measurements, and if your panels require cutting, mark the dimensions directly on them.
- Plan for Fixtures: Mark the location of any fixtures, like faucets or showerheads, on the wall and note where these cutouts need to be on the panels.
- Dry-Fit the Panels: Before applying adhesive, place the panels against the wall to ensure a good fit. This allows you to make any necessary adjustments and ensures a smooth installation.
Step 2: Prepare the Wall Surface
Prepping the wall surface is essential for good adhesion and a flawless finish.
- Clean the Walls: Remove any dust, dirt, or grease from the walls. Use a damp cloth with mild soap if needed and let the walls dry completely.
- Smooth Out Rough Spots: If the wall surface is rough or uneven, use sandpaper to smooth it out. This will help the adhesive bond effectively.
- Mark Alignment Lines: Use a level to draw a vertical and horizontal line on the wall as a guide for positioning the panels. This will help you keep everything aligned during installation.
Step 3: Cut the Panels to Size
If your panels aren’t pre-cut to fit your shower walls, you’ll need to trim them to size.
- Mark the Cut Lines: Using the measurements you took earlier, mark cut lines on the back of each panel with a pencil or marker.
- Cut Openings for Fixtures: For any shower fixtures or plumbing, mark the spots on the panels where holes are needed. Use a jigsaw or drill to carefully cut out the openings.
- Trim the Panels: Use a jigsaw or utility knife to cut the panels to the correct size. If you’re using a jigsaw, cut slowly and steadily to avoid chipping the material.

Step 4: Apply Adhesive to the Walls
The adhesive type may vary depending on the material of your shower panels, so always check the manufacturer’s recommendations.
- Apply the Adhesive: Using a caulking gun, apply adhesive to the back of each panel in vertical lines or dots as per the adhesive instructions. Avoid placing adhesive too close to the edges, as it might spread out when the panel is pressed onto the wall.
- Work in Small Sections: Apply adhesive in small sections, especially if your panels are large, to prevent the adhesive from drying before you have a chance to press the panel onto the wall.
Step 5: Position and Secure the Panels
Now it’s time to attach the panels to the wall.
- Press the Panel in Place: Starting with the back panel (if you’re covering three walls), align the panel with your guide lines and press it onto the adhesive, applying even pressure across the surface to ensure it adheres properly.
- Use a Level: After pressing each panel onto the wall, use a level to ensure it’s aligned correctly. Adjust as needed before the adhesive sets.
- Repeat for Each Wall: Continue this process with each subsequent panel, making sure they fit snugly together. If there are any seams, try to align them as closely as possible for a smooth, finished look.
Step 6: Seal the Joints and Edges
To create a watertight seal and prevent water from getting behind the panels, sealing the joints and edges with silicone is essential.
- Apply Silicone Sealant to Seams: Use a caulking gun to apply a bead of silicone sealant along all seams where the panels meet each other and at the corners. This will prevent water from seeping through.
- Seal Around Fixtures: Apply silicone around any fixtures (like faucets or showerheads) where there might be gaps to ensure a watertight seal.
- Finish with the Perimeter: Run a bead of silicone along the top and bottom edges of the panels to seal the panels against the walls and floor. Smooth the silicone with a damp finger or a finishing tool for a clean finish.
- Allow Sealant to Cure: Let the silicone sealant cure as per the manufacturer’s instructions, usually 24 hours, before using the shower.
Additional Tips for Installing Shower Wall Panels
- Use High-Quality Adhesive and Sealant: Quality materials will ensure the panels stay securely in place and that your shower area remains waterproof for years.
- Ventilate the Bathroom: Silicone and adhesives can emit strong fumes, so keep the room ventilated during installation.
- Follow Manufacturer Instructions: Each panel type may have specific installation instructions, so always consult the manufacturer’s guide for best results.
Common Questions About Shower Wall Panel Installation
Do shower wall panels need to be installed on a specific type of wall?
Shower wall panels can be installed on most surfaces, including drywall, cement, and plaster, as long as the walls are smooth, clean, and level. If your wall surface is heavily damaged or uneven, it may require repair or additional preparation.
Are shower wall panels waterproof?
Yes, most shower wall panels are designed to be fully waterproof, provided they’re installed correctly. Properly sealing edges and joints with silicone sealant is crucial to maintain a watertight barrier.
How do you clean shower wall panels?
Most shower wall panels are easy to clean with non-abrasive cleaners. Mild soap and water are generally sufficient, and a soft cloth or sponge works well for wiping down the surface.
Final Thoughts
Installing shower wall panels is a practical and stylish way to update your bathroom, providing a waterproof, low-maintenance surface. By following these steps—measuring, preparing, cutting, applying adhesive, and sealing the edges—you can achieve a professional finish without the hassle of grout or extensive tiling work.
Summary: To install shower wall panels, measure and cut them to fit, apply adhesive to the wall, press the panels into place, and seal the edges with silicone for a waterproof result. With proper installation, shower wall panels offer a modern, durable, and easy-to-clean solution for any bathroom.
With the right preparation and materials, you can complete this DIY project in a day or two, transforming your shower area into a sleek and modern space that’s built to last.
