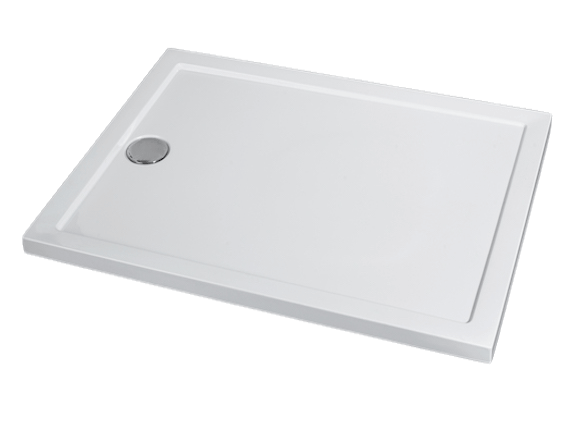
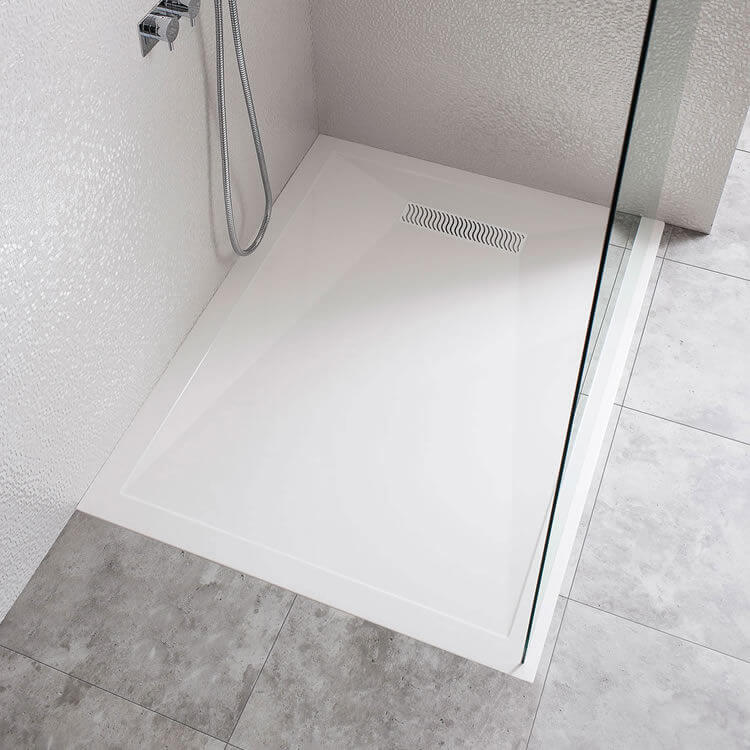
Installing a shower tray is an essential step when building or renovating a bathroom. It provides a solid, watertight foundation for your shower, ensuring proper drainage and preventing leaks. While it may seem challenging, following this step-by-step guide can help you install a shower tray with confidence and precision. Below, we’ll cover everything you need to know, from preparing the space to finishing touches, so you can complete the job like a pro.
Tools and Materials You’ll Need
Gathering the right tools and materials ahead of time will make the installation smoother:
- Shower tray (with instructions)
- Spirit level
- Tape measure
- Pencil or marker
- Mortar mix or a shower tray adhesive (as recommended by the manufacturer)
- Silicone sealant and caulking gun
- Adjustable wrench
- Shower drain kit and fittings
- Screws and wall plugs
- Safety gloves and goggles
“To install a shower tray effectively, start with a level floor, use the right adhesive for your tray type, and follow manufacturer guidelines to ensure a secure, leak-free setup.” This approach will help you achieve a durable installation and avoid common pitfalls.
Step 1: Prepare the Floor and Check for Level
Start by thoroughly cleaning and prepping the area where the tray will be installed. The floor surface must be dry, clean, and even to support the shower tray properly.
- Check for Level: Use a spirit level to make sure the floor is completely level. This is crucial to prevent water pooling in the tray after installation. If the floor isn’t level, apply a self-leveling compound or adjust as needed.
- Mark the Position: Place the tray in its intended spot and mark the edges on the floor with a pencil or marker. This will serve as a guide for exact placement during the final installation.
- Prepare the Drainage: If you haven’t already installed the drain line, set it up so that it aligns with the shower tray’s waste outlet. Make sure the piping is securely attached and follows local plumbing codes.

Step 2: Fit the Shower Tray Drain
Properly setting up the drain is a key part of the process, as this will prevent leaks and ensure smooth drainage.
- Install the Waste Outlet: Most shower trays come with a pre-cut hole for the drain. Attach the waste outlet to the shower tray’s drain hole, following the manufacturer’s instructions for a watertight fit.
- Seal the Drain: Apply silicone sealant around the drain connection to prevent leaks. Use a caulking gun to apply a consistent, even bead of silicone around the edge where the drain connects to the tray.
- Test the Fit: Temporarily place the shower tray in position to check that the drain aligns properly with the waste pipe. Make any necessary adjustments before moving to the next step.
Step 3: Apply Adhesive or Mortar Bed
The adhesive or mortar you use will depend on the type of tray and your floor surface. Some trays are designed for adhesive installation, while others require a mortar bed.
- Mix the Mortar (if required): For a mortar bed, prepare the mortar mix according to the instructions on the package. Apply the mortar evenly on the floor area within the marked lines, using a trowel to create a thin, even layer.
- Apply Adhesive (if using adhesive): For adhesive-backed trays, apply the shower tray adhesive on the back of the tray or on the floor as per manufacturer guidelines. Make sure to apply it evenly to prevent gaps.
- Position the Tray: Carefully lower the tray into place, making sure it aligns with the marked lines and the drain fitting. Press down gently to secure the tray in the adhesive or mortar.
Step 4: Check the Tray for Level and Secure It
Once the tray is in place, double-check that it’s level to ensure proper drainage.
- Verify Level: Use a spirit level to check all sides of the tray. If it’s not perfectly level, adjust by pressing down on high areas or adding a slight adjustment with a trowel if using a mortar bed.
- Let the Mortar/Adhesive Set: Allow the mortar or adhesive to cure as per the manufacturer’s instructions. This typically takes 24 hours but can vary based on the product used. Avoid putting any weight on the tray during this time to prevent shifting.
Step 5: Seal Around the Edges
Once the tray is secure and the adhesive has fully cured, it’s time to apply a waterproof seal along the edges.
- Apply Silicone Sealant: Use a caulking gun to apply silicone sealant along the edges where the tray meets the walls and floor. This will create a watertight barrier and prevent water from seeping behind the tray.
- Smooth the Sealant: Using a finger or a sealant finishing tool, smooth the bead of silicone for a clean finish. Wipe away any excess with a damp cloth.
- Allow the Sealant to Dry: Let the silicone cure completely, as recommended on the product label, before exposing the tray to water.

Step 6: Connect the Drain and Test for Leaks
Once everything is sealed, it’s time to attach the final drain components and test for any leaks.
- Connect the Drain: Attach the drain pipe to the shower tray’s waste outlet. Use an adjustable wrench to tighten the fittings, ensuring they are secure and leak-free.
- Test for Leaks: Run a small amount of water into the tray to check that the drain is functioning correctly and that there are no leaks in the connection. Inspect the edges and underneath the tray as well.
- Adjust if Necessary: If you notice any leaks, turn off the water and reapply silicone or tighten the drain connection as needed.
Additional Tips for Installing a Shower Tray
- Follow Manufacturer Instructions: Different trays have different installation requirements. Always follow the specific instructions provided to avoid issues.
- Use Quality Materials: Investing in quality sealants and adhesives will ensure the installation lasts longer and is less prone to leaks.
- Ventilate the Area: Work in a well-ventilated area, especially when using adhesives or sealants that emit fumes.
- Plan for Maintenance Access: If possible, design the installation to allow future access to the drain for maintenance or cleaning.
Common Questions About Shower Tray Installation
Do I need a professional to install a shower tray?
If you’re comfortable with basic DIY skills and have the proper tools, installing a shower tray can be a DIY project. However, for complex plumbing setups or if the floor requires leveling, a professional may be helpful.
How long does it take for the adhesive or mortar to dry?
Curing times vary based on the product used, but most adhesives and mortars require at least 24 hours to fully set. Check the label for the manufacturer’s recommended curing time.
Can I install a shower tray on a wooden floor?
Yes, you can install a shower tray on a wooden floor. Just ensure the floor is structurally sound and level. Use a waterproofing membrane or board under the tray for additional protection.
Final Thoughts
Installing a shower tray doesn’t have to be an intimidating task. With the right tools, materials, and a bit of patience, you can achieve a solid, professional-quality installation. Ensuring a level floor, using the correct adhesive or mortar, and sealing the edges properly are essential steps for a leak-free shower base that lasts.
Summary: To install a shower tray, start by preparing a clean, level surface and ensure proper drainage alignment. Apply adhesive or mortar, set the tray in place, and seal the edges for a watertight finish. Always follow manufacturer instructions for a secure, lasting installation.
