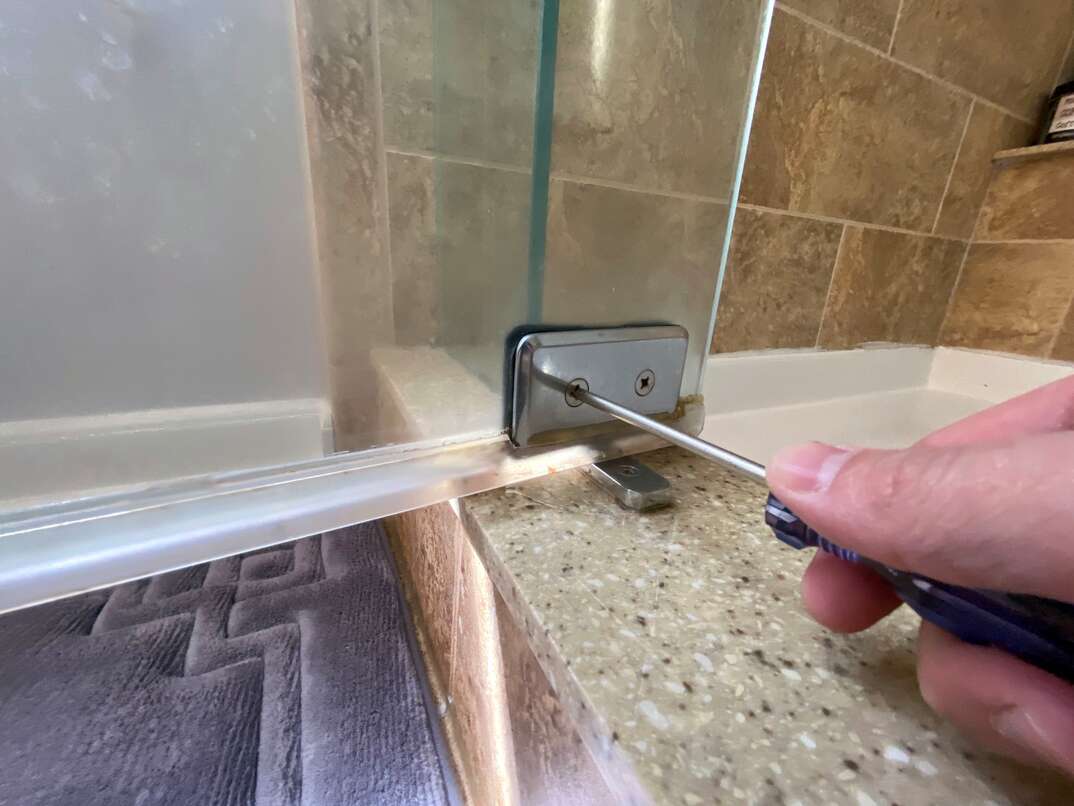
A glass shower door adds an elegant and modern touch to any bathroom. However, over time, you may notice the door frame becoming loose. This is a common issue that can happen due to constant use, changes in humidity, or improper installation. A loose glass shower door frame can be both a safety concern and an inconvenience, as it may prevent the door from closing properly or cause it to rattle.
In this blog, we’ll walk you through how to fix a loose glass shower door frame safely and effectively, ensuring your door functions smoothly and securely again.
What Causes a Loose Shower Door Frame?
Before diving into the repair process, it’s important to understand why the frame might become loose. The most common reasons for a loose shower door frame include worn-out screws, weak adhesive, or misalignment over time. In some cases, the frame may have been improperly installed initially, or changes in temperature and moisture levels can cause materials to expand and contract, leading to loosened components.
Understanding the root cause of the issue can help you fix the problem and prevent it from recurring in the future.
Tools and Materials You Will Need
To fix a loose glass shower door frame, you will need the following tools and materials:
- Screwdriver (Phillips or flathead, depending on your screws)
- Allen wrench (if applicable)
- Drill (if you need to replace or tighten screws)
- Level
- Silicone caulk or sealant
- Caulk gun
- Replacement screws (if needed)
- Safety gloves and goggles
Step-by-Step Guide to Fixing a Loose Shower Door Frame
Step 1: Inspect the Shower Door Frame
Start by closely examining the entire shower door frame to identify where the looseness is occurring. Check all the screws along the frame to see if they are loose or missing, and inspect the areas where the frame meets the glass. Pay attention to any gaps between the glass and the frame, or between the frame and the wall.
If you find any cracks in the glass or significant damage to the frame itself, it may be time to call a professional for a more thorough repair or replacement. However, for minor loosening, the steps below should help you resolve the issue.
Step 2: Tighten the Screws
Once you’ve identified the loose area, the first step is to tighten any screws that are holding the frame in place. Using a screwdriver or Allen wrench, tighten each screw carefully, ensuring not to overtighten, as this can crack the glass or damage the frame. If the screws appear stripped or damaged, you may need to replace them with new ones.
Check if the door frame feels secure after tightening the screws. If not, you may need to add additional support using adhesive or caulking, which we’ll cover in the next steps.

Step 3: Apply Silicone Caulk for Extra Support
If tightening the screws alone doesn’t fully secure the frame, or if you notice gaps between the frame and the wall or glass, silicone caulk can provide extra stability. Silicone caulk is a waterproof, flexible adhesive that can help hold the frame in place and prevent moisture from entering between the glass and the frame.
To apply the caulk:
- Clean the area around the frame thoroughly, removing any old caulk, debris, or mildew. Use a scraper or utility knife if needed.
- Apply a bead of silicone caulk along the edges where the frame meets the glass or the wall. Make sure to apply the caulk evenly to ensure a watertight seal.
- Smooth the caulk with your finger or a caulking tool to ensure an even, clean finish.
- Allow the caulk to dry completely, according to the manufacturer’s instructions, before using the shower.
Step 4: Check for Alignment
After securing the frame with screws and caulk, it’s essential to ensure that the shower door is properly aligned. Use a level to check that the door is straight and that it opens and closes smoothly without hitting the frame or sticking. Misalignment can cause the door to put uneven pressure on the frame, leading to future loosening.
If the door is slightly out of alignment, you may be able to adjust it by loosening the screws slightly and repositioning the frame. Once adjusted, retighten the screws and check again with the level.
Step 5: Final Inspection and Testing
Once you’ve tightened the screws, applied caulk, and ensured proper alignment, perform a final inspection of the door. Open and close the door several times to ensure it moves smoothly and that the frame remains securely in place. Check for any signs of wobbling or movement, as this could indicate further tightening or adjustments are needed.
When to Call a Professional
If you’ve followed these steps and the frame still feels loose, or if you’re dealing with significant damage to the glass or frame, it may be time to call a professional. Some shower door repairs require specialized tools or expertise to avoid further damage or safety risks. A professional can assess the situation and recommend a more permanent solution, such as replacing the frame or the entire door.
Fixing a Loose Shower Door Frame
In summary, fixing a loose glass shower door frame involves tightening screws, applying silicone caulk for added stability, and checking for proper alignment. These simple steps can help you restore your shower door to proper working condition, preventing further issues and ensuring a safe, secure enclosure.
Regular maintenance of your shower door, including inspecting and tightening screws and reapplying caulk as needed, can extend the lifespan of your shower enclosure and save you from more costly repairs down the line. If you encounter more complex issues or extensive damage, don’t hesitate to seek professional assistance for a safe and effective repair.
